Hello Everyone!
So I played a practice game last weekend to try and teach myself the game. I put together two 1000 point armies, one Empire and one Ogre to run through the basics of how the rules work. So lets take a look at the armies!
You should be familiar with these guys by now:
We have 6 Bombardiers, 3 Saber tooth Tigers, a level 2 Shaman, 8 Bruisers and a slave giant. While on the other side we have....
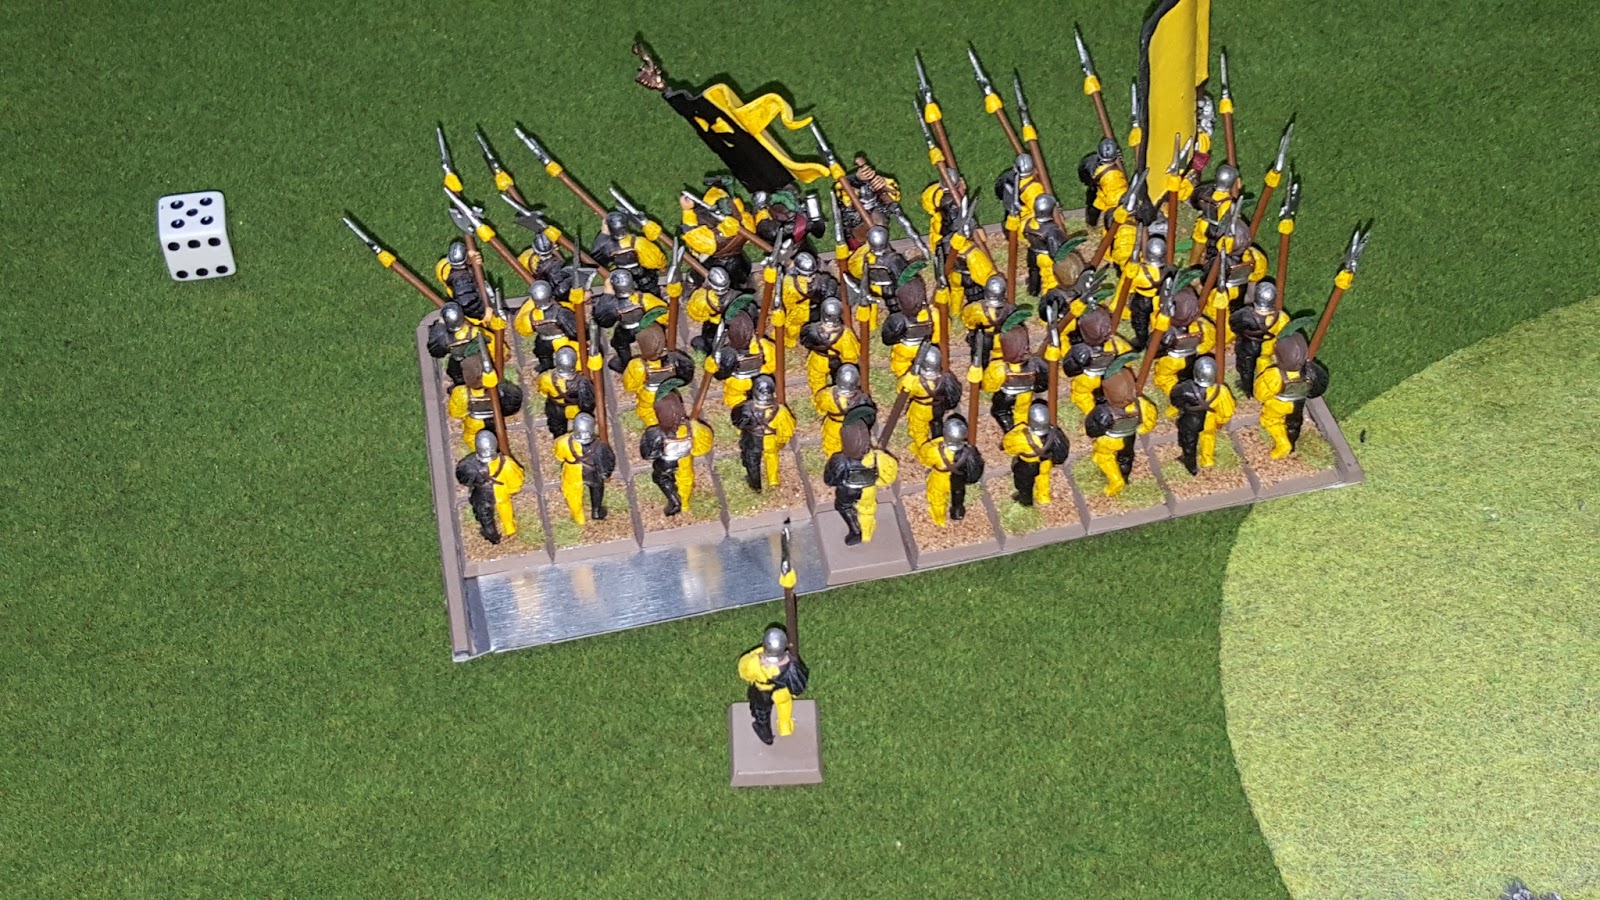
The Empire of the Sonnestahl! 10 Huntsmen, 9 Imperial Knights, 50 Halberdiers and 10 Crossbowmen along with a Preacher on a horse and a Captain BSB.
I rolled up a mission and deployed the terrain like the rules stated.
So I rolled up Flank Attack for the Deployment type as well as a Secondary objective "Hold the Ground". Empire got the roll of defender as the Ogres come crashing in to break through the Empire defenses.
The Ogre Shaman had the path of Butchery and rolled up Teeth Cracker and Marrow Drinker.
So here is the terrain and Army setup, The Empire dropped everything giving them a sweet bonus to go first which they promptly took.
So let us begin the grand Battle Report!
The Empire Turn 1
Movement
The knights on the right flank move up while everything else stay put.
Magic
5 dice to 4 in the magic phase my Preacher manages to cast Ullor's Blessing on the knights while Volund's Blessing is dispelled.
Shooting
The Crossbowmen were out of range. The Imperial Rangers fired into the Sabertooth Tiger next to the giant and manage to score 5 wounds wiping it out. The other tiger in the building was out of range for panic but the Giant is in range and this leads to my FIRST mistake of the game (Thank god for learning experiences!) The Giant is Immune to psych but passed the test so now I know better for the future!
Combat
No combat this round
Ogre Horde Turn 1
Movement
The green tiger in the building tries to charge the rangers but fails. The rest of the army moves up although the giant is cautious as it does not want to get counter charged by the knights. The Bombardiers move up but do not march as they want to shoot this round.
Magic
4 dice to 3 the Shaman manages to cast Marrow Drinker which the Empire fails to dispel.
Shooting
The Bombardiers on the flank fire into the Imperial Troops and score a bunch of hits but only manage 4 wounds. The Ogres are going to need more if they hope to whittle down the unit enough for the Bruiser to be able to take them out!
Combat
No combat this turn.
The Empire Turn 2
Movement
The Knights and Rangers on the flank all move up. The Rangers slightly more forward to try and goad either the Giant or Tiger to charge them. The Crossbowmen and Halberds stay put.
Magic
Forgot to write down the number of dice used but either way the Preacher manages to cast both Ullor's Blessing and Volunds Blessing on himself and his unit of knights and the Ogre Shaman fails to dispel each.
Shooting
The Crossbowmen fire into the Tiger screening the Bruisers but fail to cause any wounds. Meanwhile the Rangers unload into the Tiger next to the giant and manage 3 wounds killing him! Of course I measure to see if the Giant is in range for a panic (Again, forgot he was immune to psych) but he was out of range.
Combat
No combat this round
Ogre Horde Turn 2
Movement
The tries to charge the Rangers who promptly decide to exercise the better part of valour and flee. The Giant tries to redirect into the knights but falls short on the charge. Meanwhile the Tiger moves up in front of the crossbowmen while the Bruisers move forward to try and get into a safe range to charge next turn. Meanwhile the Bombardiers walk forward to get another round of shooting in before the lines crash.
Magic
9 dice to 5 and the Shaman manages to cast Marrow Drinker with Overwhelming Power on 4 dice (which the Empire did not try to dispel). Rolled a 7 on the miscast table causing the unit to take 4 hits at strength 6 but it only caused 2 wounds. The unit was Stubborn now but with the loss of dice meant the magic phase was over.
Shooting
The Bombardiers unload their cannons on the Empire troops once more and score a magnificent...1 wound. Looks like the Ogres are not getting the kills they need to ensure they can win combat.
Combat
No combat this turn
The Empire Turn 3
I had totally forgotten about the Empires rules but for this turn I did remember. The Captain/BSB in the unit issued an order Brace for Impact. So the unit would fight with the "Fight in Extra ranks" rule this turn
Movement
The Empire Halberds declare a charge on the Bruisers who elect to hold, while the Knights on the flank charge the Giant who also elects to hold. The Knights get into combat easily while the Halberds roll an 10 making the long-bomb charge into the Ogre Bruisers (Well that was unexpected...)
Meanwhile the Rangers fail their rally test and flee through the Sabertooth Tiger, who promptly eats one due to a failed dangerous terrain test.
Magic
4 dice to 3 (Hooray for my dice rolling skills) All Empire magic is either dispelled or fails to cast.
Shooting
With the Huntsmen fleeing the only shooting is the Crossbowmen on the hill. They unload into the Tiger and manage to wipe that one out as well. Tigers did not manage much this game but being a magnet for shooting...which is useful in it's own way I guess.
Combat
Finally! Something for this section!
So first the combat with the Giant. The knights pass their fear test and strike first managing 4 wounds. The Giant and the horses all strike at the same initiative so they went next. The horses manage no wounds while the Giant rolls "Swing" and causes two wounds on the Knights. Lastly the Great weapon wielding Preacher manages another wound (thanks hatred!). Sadly the giant cannot stomp cavalry (another lesson learned) so with the kills, charge and a banner the knights win but the Giant (being stubborn) manages to hold....with 1 wound left!
Now for the main event! The main fight in the middle of the board. The Ogre Champion decided to let out a challenge which the Captain/BSB decided to accept thinking that he would be safe in his "Blessed Armour of Frederick the Great" Both wielding Great weapons they struck at the same time with the captain causing one wound and the Bruiser Champion causing two wounds! Which were both failed...oops...
Meanwhile the unit fighting with an extra rank because of the Orders given by the captain manage to unload on the Bruisers causing 10 wounds! The Ogres strike back however and lay into the Empire soldiers and cause....1 wound....oh no....
As you can see the Empire wins easily...but the Ogres still have Marrow Drinker making them stubborn! The dice roll on the break test was enough to keep them in the game but it doesn't look good for them at all.
Ogre Horde Turn 3
Movement
Well, only one thing to do now and that's to go for glory! The Ogre Bombardiers charge the flank of the Halberdiers
Magic
I forgot to take notes on the number of dice but the Ogres manage to get Marrow Drinker off again while Teeth Cracker is dispelled.
Shooting
No Shooting this turn
Close Combat
The Giant/Knight combat goes first and there is not much to say about that. The Knights manage to cause one last wound on the giant killing him. I do wish Giants still had the "Fall over" rule. Getting sweet revenge that way is always the best! It is not to be this time however, the Knights do a combat reform to face the flank of the Ogre Bruisers.
Meanwhile the main fight in the center the Ogre charge manages to cause 2 wounds.
In Close Combat the Halberdiers packing the higher initiative unload on the bruisers and cause 10 wounds wiping lout the unit. On the Flank they manage one wound on the Bombardiers. The Shaman manages a wound himself while the Bombardiers manage 3 more and fail to cause any Stomps.
In the end the flank charge is not enough to save them and the Ogres lose by 7. The Bombardiers turn and flee but the Shaman, thanks to Marrow Drinker, stays in combat.
This is what the table looked like at the End of turn 3:
So at this point I can't see a way for the Ogre to pull out a victory so I decide to call it. After tallying the points it comes to a Massacre Victory for the Empire!
So there you have it. My first attempt at learning the rules. So far I enjoy what I see although I did make a bunch of mistakes and did things out of order it is all part of the learning experience I guess.
Now to see if I can get a game against a real live human!
Bye for now!
-Commodus